First steps
In this tutorial, we will create a simple show, to get the basic concepts.
Hardware & network setup
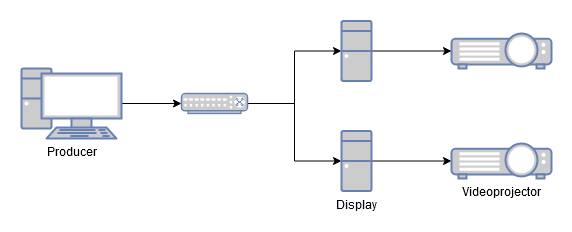
In this tutorial, we will use 2 Media Servers, each connected to a single 4K projector.
Producer should be connected to Media Servers via a switch; projectors should be connected to the Media Servers, for instance using a DisplayPort cable, depending on the projector.
The following ports need to be opened on the network:
| Type | Port | Description |
|---|---|---|
| TCP | 3054, 3055 | Producer-Media Server communication |
| UDP | 3060,3061 | Watchdog-Producer communication |
| UDP | 3069 | Synchronization clock |
| TCP | 3062,3063, 3052,3053, 3042,3043 | File servers on Producer, Media Server and Watchdog |
| TCP | 62330 | Warpnet communication |
| UDP | 62330,62331 | Warpnet discovery |
So, TCP 3054,3055,3062,3063,3052,3053,3042,3043,62330 and UDP 3060,3061,3069, 62330,62331.
Creating a new show
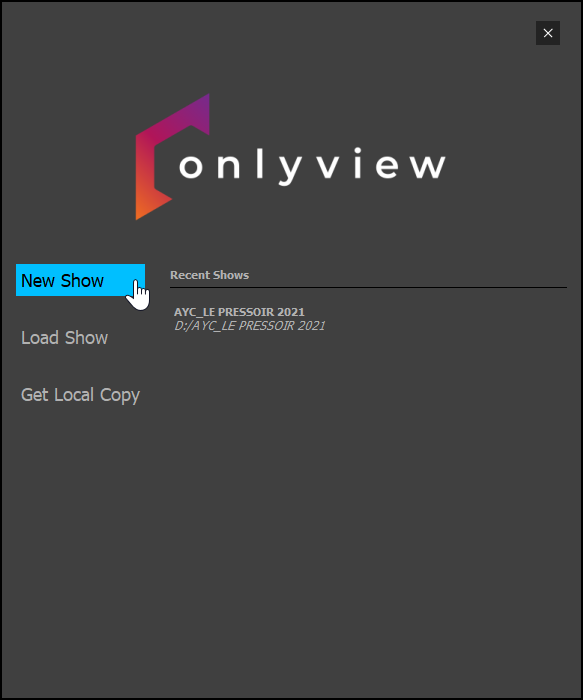
Start Producer and click Create new show. Save it in a new folder in D:/
The Edit Media Servers dialog opens.
Creating the Media Servers
All the Media Servers that are connected on the network will appear in the list. They are not part of the show yet. Click on the “+” icon to add them.

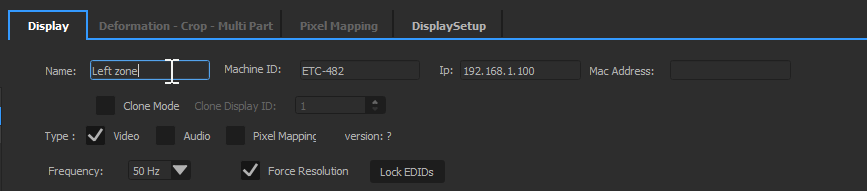
“ETC-482” corresponds to the license of the Media Server. It is written on the case of each server.
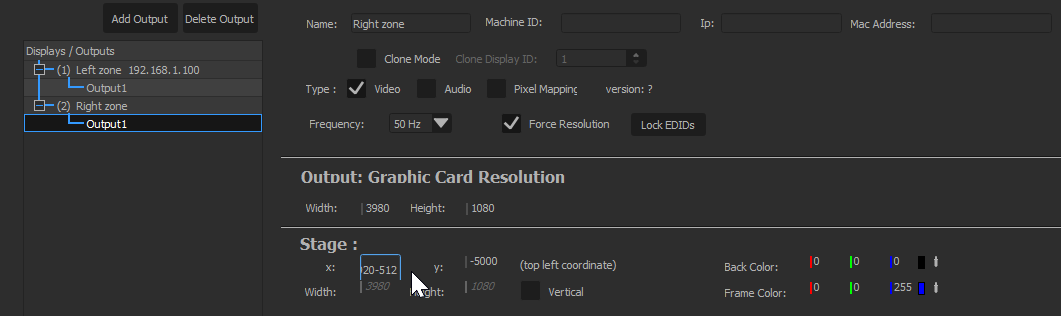
You can give this server a descriptive name, like “Left zone”
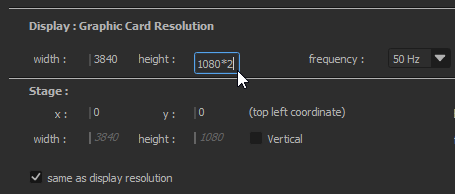
Each Media Server can have multiple outputs. Select the first one, and set it to 4K UHD :
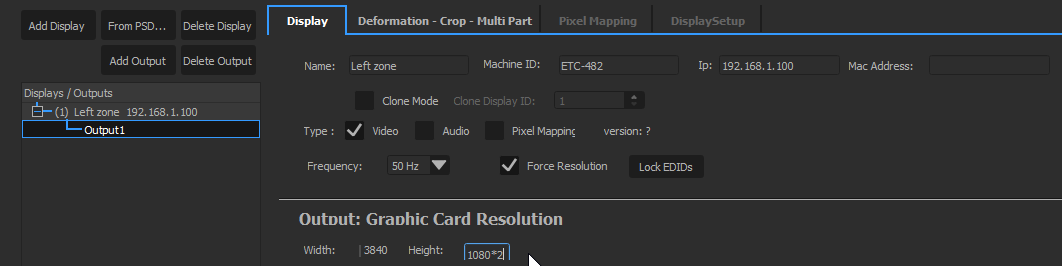
The resolution must now be set to 4K UHD, so edit the Graphic Card Resolution:
Add the second Media Server, but set its position to 3840-512=3328
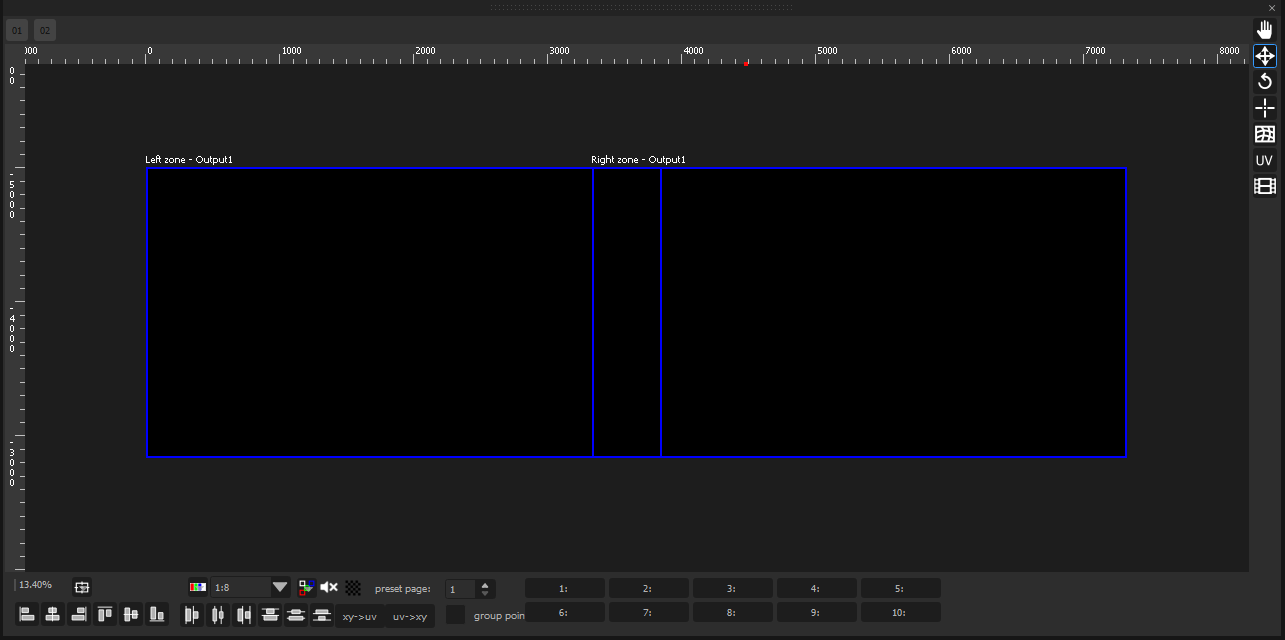
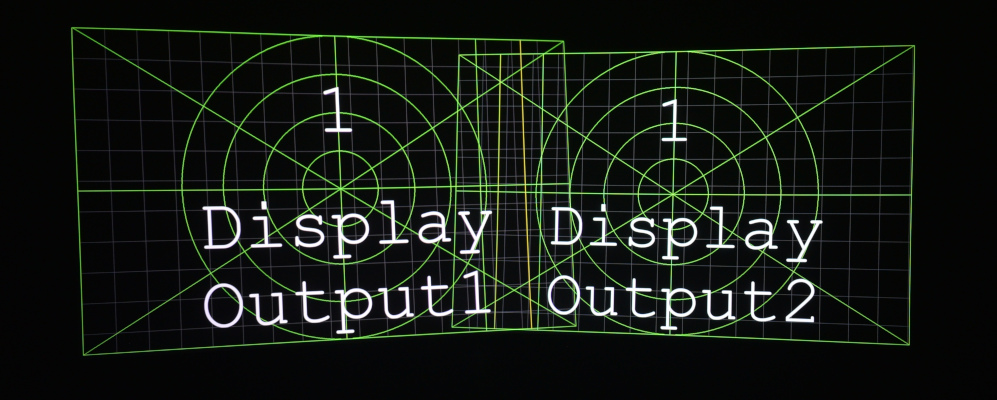
When closing the Edit Media Server dialog, the 2D preview will show the 2 Media Servers with a 512px overlap:
Aligning the projectors
Put the Media Servers Online using Ctrl-O. They should turn green in the Media Servers list.
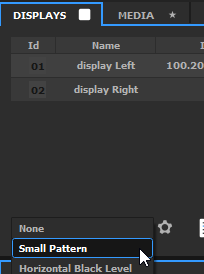
Turn the SmallPattern mire on:
The projectors will probably output something like this:
The small pattern will help getting a good alignment.
Go back in the Edit Media Servers dialog by double-clicking on Media Server Left, then in the Deformation tab, change the deformation mode to Deformation, and choose Keystone. You will then be able to warp the output image, and by adjusting the two projector this way, you should be able to create a single, aligned image.
Adding media
In the media tab, click Add Media:
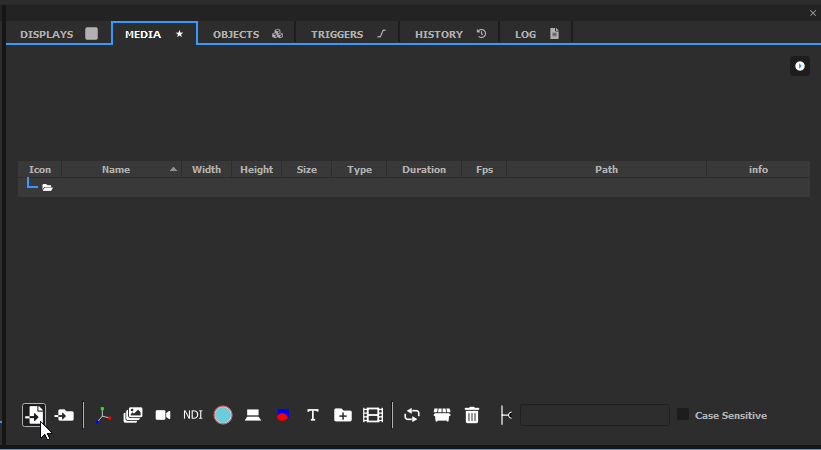
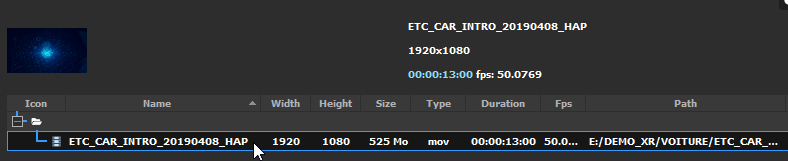
Then select an image or a movie. It will appear in the media list:
You can Ctrl-O now so that the media will be uploaded to the Media Servers.
Drag&drop this media on the timeline. This will create a new Cue, that will be visible on the timeline:

And on the Stage, in the 2D preview:
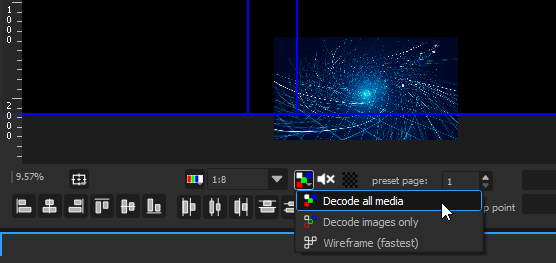
For performance purposes, by default, the preview quality is set to “Decode images only”. You can change this in the preview dropdown:
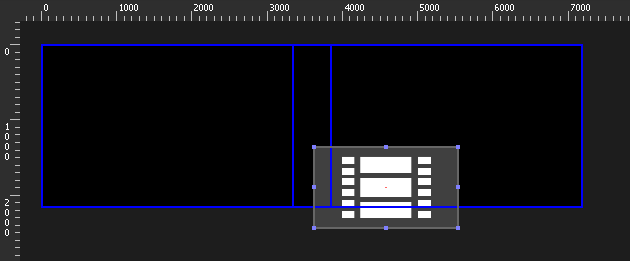
In the 2D preview, click on the cue, and move it so that it covers the two Media Servers.
You can use the following keyboard shortcuts:
V switches the mouse to “Selection+Move” mode: Middle click pans the view, left-click selects, and dragging a cue moves it.
Maj-drag resizes the cue
F focuses on the selected cue
Arrow keys move the cue; Ctrl-Arrows move by larger increments.
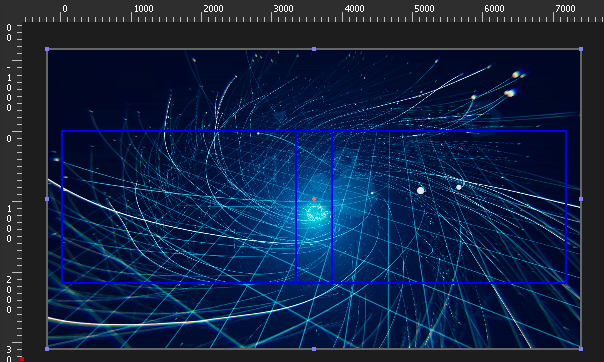
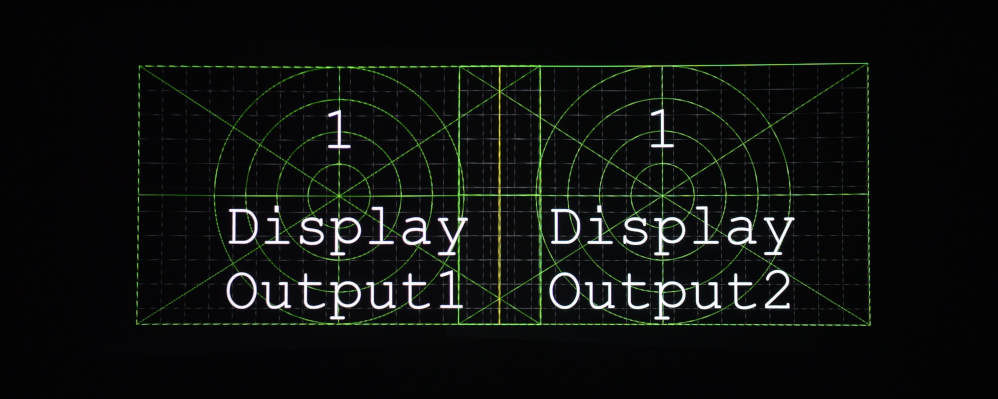
If you did a good job in the alignment section, your projected surface should look like a single, wide image:
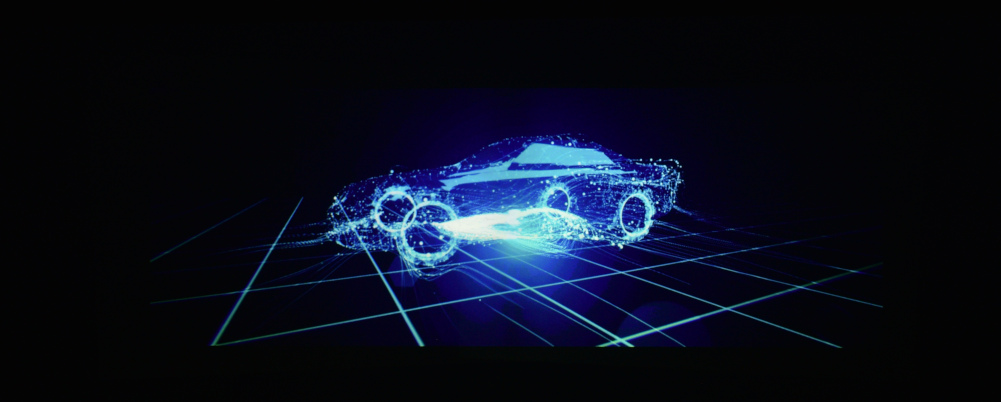
For reference, this is what a raw output, without keystone or softedge, looks like. Notice that in the middle, there is double luminosity, and the image is not properly aligned:
Pressing the spacebar will then play/pause the timeline.