Boards
In addition to timelines, Onlyview has a system of “cue list” called Boards. The functionality is similar to timelines, but simpler and faster to use for most common shows.
In particular, Boards automatically handle the duration of each sequence in your show. This means that it is easy to re-order the sequences, or add a new sequence between two existing sequences; whereas timelines require more precise and manual handling.
Boards are “interleaved” with timelines: they are drawn together, one after the other, in the order defined by the user. It’s common to show that mixes both: for instance, a timeline is great for the show control which might require precise timings, while a board will be used for the content to keep a maximum of flexibility.
Basic usage
Boards are made of sequences. A sequence contains several layers of media.
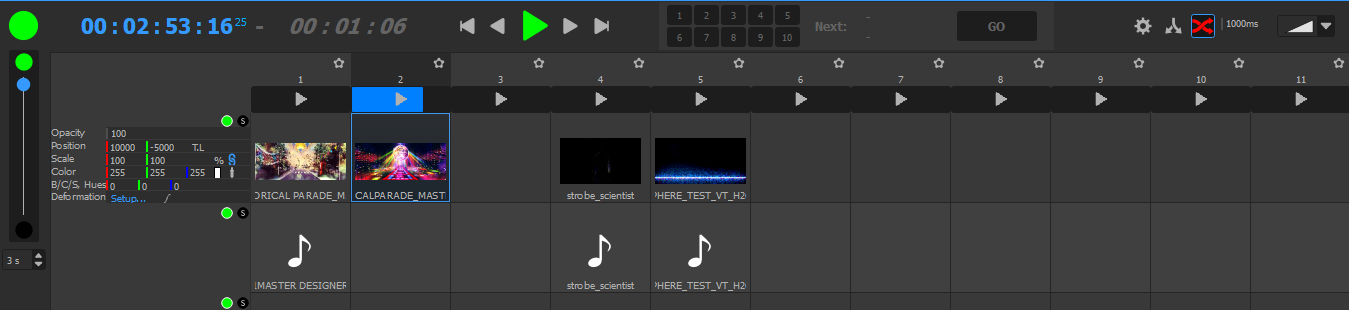
To play a sequence, just click on the Play button at the top of the desired sequence. The sequence’s cues will become selectable and editable.
Normally, Onlyview automatically handles the duration of a sequence, and at the end of the sequence, it will skip to the next one.
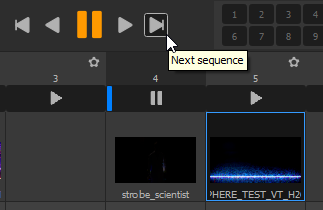
Basic previous/next sequence control can be accessed using the dedicated buttons:
Sequences duration
Onlyview computes the duration of a sequence using the following logic:
It searches amongst the layers for the first cue that:
Doesn’t freeruns, otherwise the duration is not really meaningful
Have a real duration (ie a real movie, not a stream or a TextureArea)
If no such cue exists, the sequence is considered “infinite”, and only the user can skip to the next one.
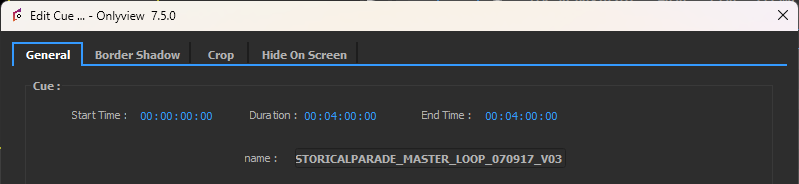
By default, the duration of a cue is the duration of the underlying movie. But this can be configured in the cue’s settings:
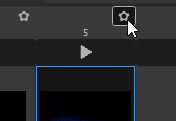
One of the extra features regarding to Timelines is that since Onlyview knows when the current sequence ends, it is able to tell how long is remaining (in this example, 5 seconds), which is useful during rehearsals.

Queue
Normally, when a sequence finishes, the next one starts.
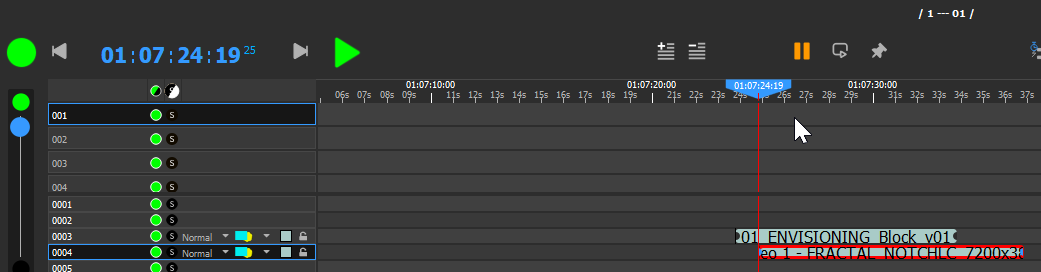
However, you can temporarily override this behaviour. Right-click on a sequence, and select “Enqueue”:
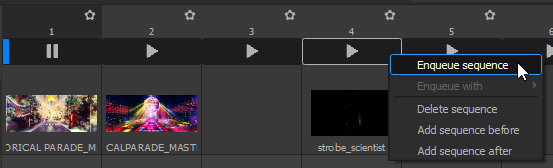
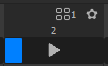
The top panel will then highlight which sequence is enqueued:

In this example, once sequence 1 will be finished, Onlyview will not play sequence 2 but sequence 4. You can also click on Go, which will make the enqueued sequence play immediately.
Once the new sequence is played, the queue is cleared. In other words, if you play sequence 1 again, Onlyview will not remember to play 4 next. If you want to alter the order indefinitely, you can drag&drop the columns instead.
Media cues
Common parameters
Board cues have the same parameters than Timeline cues, but the user interface is simplified to show only the most common parameters.
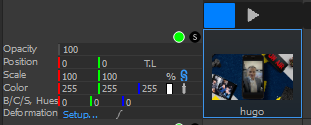
All other parameters can be accessed using “Right click -> Edit all cues parameters”, which opens the same panel than with Timeline cues.
Cue setup dialog
The cue setup dialog has exactly the same options than timeline cues. In particular, for a description of the Loop and Freerun options, please see the Timeline section.
Animations
Most cue parameters can be animated. But unlike Timeline cues, this must be done in the “Edit all cue parameters” panel, also called “Cue view”.
Cue view
Ctrl+double-clicking (or right-click -> Edit all cues parameters) on a cue gives access to a new panel, on which more cue parameters can be edited. In particular, it shows the Effects options.
To exit the cue view, close it in the top-right corner, or ctrl-double click on an empty area of the timeline.
While the cue view is active, some actions are locked, like deleting the cue.
Interacting with boards
Boards are very similar to timelines, and most concepts apply directly.
Just like timelines, each board has:
An on/off button, to completely hide the whole board.
A GrandMaster, on the left. Clicking on the black and green buttons will make the grandmaster automatically fade in a user-configurable time (by default, 3 seconds).
A play/pause button
A current timecode
A locator that can be dragged using the mouse, or controlled using keyboard shortcuts.
Board setup
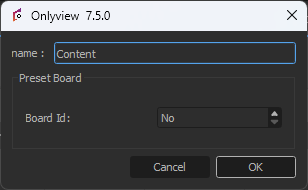
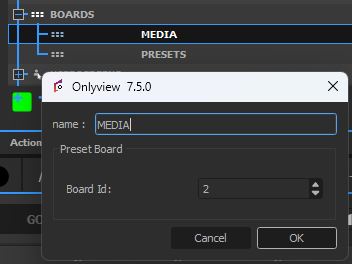
The name of each board is configurable.
Preset boards are explained in a dedicated section.
Boards and timelines
New boards can be created in the Content window, Objects tab.
Timelines and Boards are drawn in a specific order, customized in the Setup dialog:

So, it is possible to draw a Board between two Timelines, or vice-versa, depending on your show’s requirements.
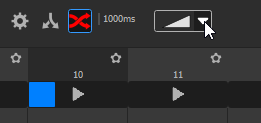
Dual Locator
Just like Timelines, Boards handle the Dual Locator. See the corresponding section in the Timelines chapter.

In this example, the running Media Servers will keep playing sequence 10, but the user can preview and edit sequence 11.
Auto-crossfade
The auto-crossfade of Boards has exactly the same basis than the Timelines. Please refer to the related chapter for an explanation of the different capabilities and modes.
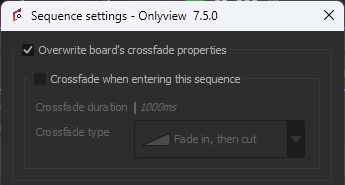
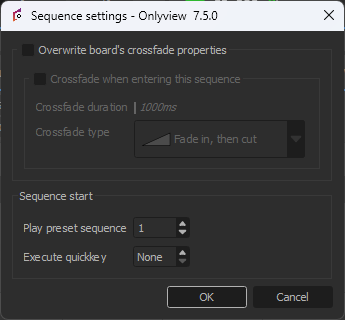
However, Boards have extra features: each sequence can optionally have a specific “override” which specifies a different behaviour when entering the sequence. To access the setting, click on the settings button of the sequence:
In the sequence settings, when “Overwrite” is checked, you can either:
Check “Crossfade”, in which case there will always be a crossfade when entering it (and this crossfade can fade-out the exiting sequence, even if the timeline setting is set to “no crossfade”. You can also customize the crossfade parameters.
Uncheck “Crossfade”, in which case there will be no crossfade, even if the “auto-crossfade” parameter of the Board is enabled.
Preset boards
Boards have an additional feature that Timelines don’t: preset boards.
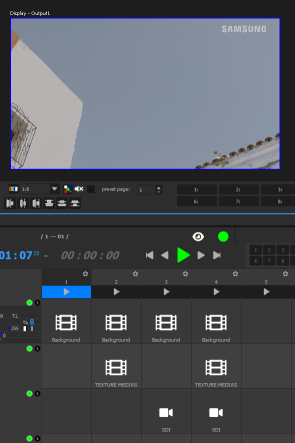
A preset is a user-defined “appearance” of the show, represented as sequences in a dedicated Board. In this example, the Preset Board has 4 presets/sequences : Preset 1 has only a background; Preset 2 has the content TextureArea full-screen; Preset 3 has an SDI stream full-screen; and Preset 4 has two PiPs, one for the content TextureArea, the other for the SDI stream.
This allows you to quickly switch between appearances, depending on what must be shown on-stage.
To define a Board as the “Preset Board” of another one, right-click on the desired Board in the OBJECTS tab, and select the desired Board.
At this point, the top of the UI will be accessible, with 10 buttons numbered from 1 to 10. Clicking on a number triggers the related preset/sequence. This way, you can keep your main Board with all your different media always visible, and quickly change the preset.

However, each sequence can also be configured to auto-start a specific preset:
Once configured, the UI will make it clear that once triggered, Sequence 2 will also trigger the Preset 1:
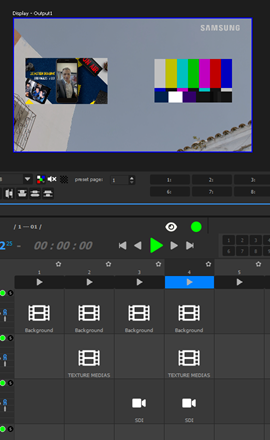
It is possible to temporarily override this setting by right-clicking on the cue and selecting “Enqueue with preset”:
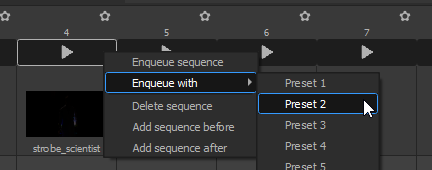
The top of the UI will then show that Sequence 4 is enqueued to play with Preset 2. It will play either when the current sequence ends, or when the user presses GO, which is the equivalent of the TAKE button of video mixers.

It can be interesting to set the Preset Board to auto-crossfade with the “Interpolate properties” crossfade mode. This will make it very easy to create custom in/out animations.
Random Board queue
Boards can be used as random media player. This can be achieve by reproducing the following ActionGraph:
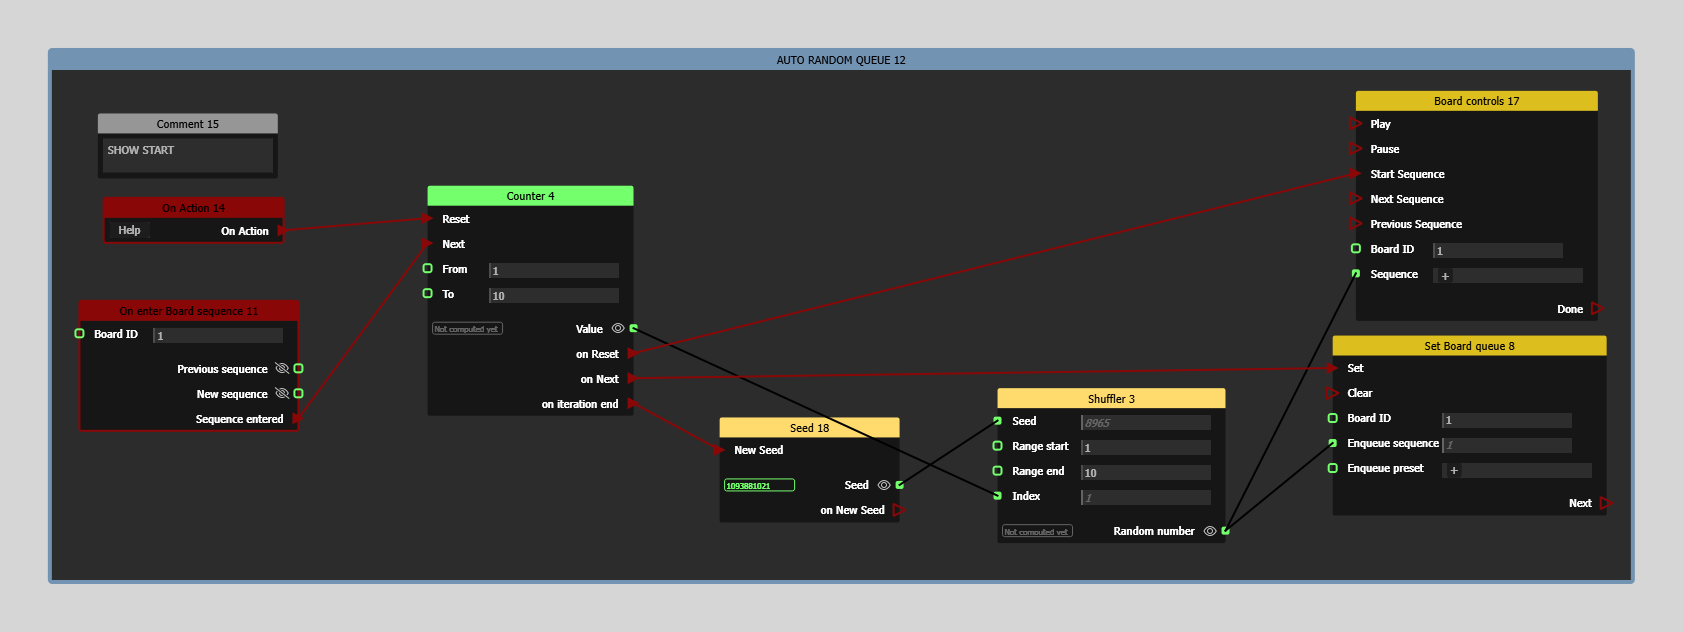
This ActionGraph automatically queues a sequence when another ends. Thanks to the Shuffler node, it will play all sequences (here 1 to 10) in a random order once before shuffling again, meaning all sequences will be played the same amount of time.
Replace the On Action node with any event you want to start randomly playing board sequences.